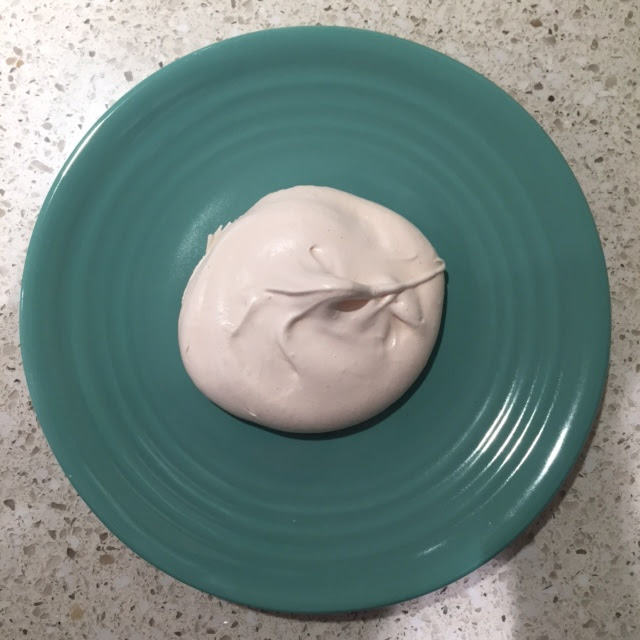
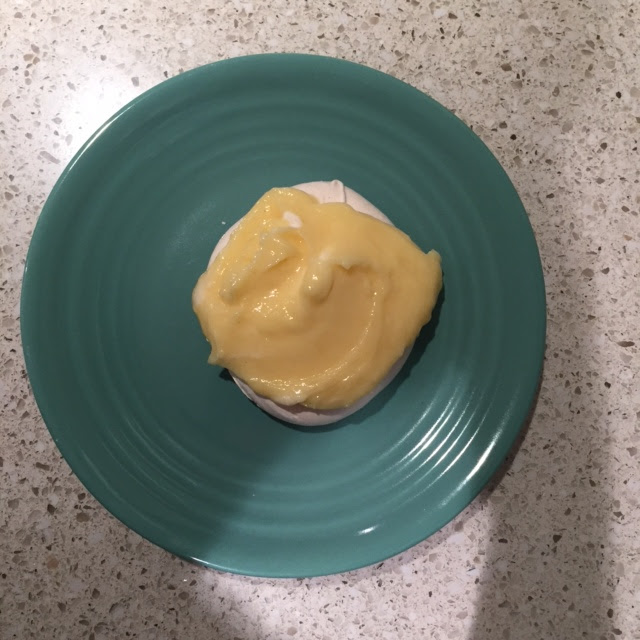
Soft, chewy crunch from the meringue, smooth, luscious lemon custard, billowy, slightly sweetened whipped cream, and tart, juicy raspberries all in one layered, enchanting bite. This, my friends, is a pavlova. The origin is Australian or New Zealand depending on apparently who you ask, named for famed Russian ballerina, Anna Pavlova in the 1920's. Technically, a pavlova is the meringue and berries with cream. I am not sure when the lemon curd got thrown into the mix but it was a smart, smart person who thought of this fabulous addition to the pavlova.
You can flavor the meringue if that makes you happy. You can use different fruits to make it more seasonal or to just suit your mood. You could make a different fruit curd or flavor the whipped cream - the options are your for the taking. For me it is about the layers of flavors and textures all coming together in a unique way.
For the meringue:
adapted from thekitchn.com
Makes one 9" pavlova or 8 mini-pavlovas ( I made an 8" pavlova and 2 mini pavlovas)
Ingredients
For the meringue base:
4 egg whites
1 cup granulated sugar
1/2 tablespoon cornstarch
1 teaspoon vanilla extract
1 teaspoon white vinegar
4 egg whites
1 cup granulated sugar
1/2 tablespoon cornstarch
1 teaspoon vanilla extract
1 teaspoon white vinegar
Instructions
1. Prepare for Baking: Preheat the oven to 275°F with a rack in the lower third of the oven. Line a baking sheet with parchment. Trace an 8" circle on the parchment using a cake pan or dinner plate as a guide. (If making mini-pavlovas, use drinking glasses as guides.) Flip the parchment over. Mix the sugar and cornstarch together in a small bowl. Mix the vanilla and white vinegar together in a separate bowl.
2. Whip the Meringue: Make sure your mixing bowl and beaters are very clean with no residual fat or grease. Pour the egg whites in to the bowl and begin beating at low speed. Gradually increase the speed to medium.
When the egg whites have reached soft peak consistency and the beaters leave trails in the whipped whites, begin adding the sugar a few tablespoons at a time, waiting a few seconds between each addition. While doing this, gradually increase the speed so that you are at maximum speed once all the sugar has been added.
Continue whipping until the meringue holds stiff peaks. Stop the mixer and sprinkle the vanilla and vinegar over the meringue. Beat for another 20 seconds to fully mix.
3. Shape the Meringue: Use a Tovolo Flex-Core spatula or Tovolo Scoop & Spread to scrape all the meringue onto the parchment in the center of the circle. Working from the inside out, spread the meringue to fill the circle. Smooth the sides if desired or leave it in billowy lumps.
4. Bake the Meringue: Put the meringue in the oven and immediately turn down the heat to 250°F. Make for 60-70 minutes for one large pavlova or 50-60 minutes for mini-pavlovas. The pavlovas are done when the outsides are dry to the touch, are very slightly browned, and sound hollow when tapped. It's fine if cracks form in the crust.
Turn the oven off, but leave the pavlova inside with the oven door ajar. Let sit until the pavlova is completely cooled, or overnight. At this point, the pavlova can be wrapped in plastic or sealed in an airtight container and kept for several days unless your house gets very humid (in which case, eat your pavlova right away!).
Now for the layering. I like to have everything done ahead of time. This is a nice dessert for guests because although you can't assemble them ahead of time, you can made all the components a day or two ahead. (Not the whipped cream, you want to do that just before you assemble them. It will hold for an hour or two so you could whip the cream before guests arrive.) Here is the link to the Lemon Curd recipe:
http://tovolove.blogspot.com/2016/05/lemon-curd.html
So, I like meringue, curd, cream, fruit. You could make little nests out of the meringue and add the fruit in there like a surprise but I think the fruit on top adds color and beauty. This is your creation so do what you like!
step 2
STEP 5 - EAT IT UP YUM!


No comments:
Post a Comment